The Ultimate Guide to Making Jelly-Filled Cookies
There’s something deeply comforting about jelly-filled cookies. Maybe they remind you of holiday trays lovingly baked by a grandparent or that burst of sweet jam nestled inside a buttery dough that lit up your childhood. Whether you’re looking to recreate those cozy memories or start a new family tradition, learning how to make jelly-filled cookies from scratch is a joyful journey—one filled with flavor, creativity, and just the right amount of sweetness.
Table of Contents
What Are Jelly-Filled Cookies?
Definition and Origin
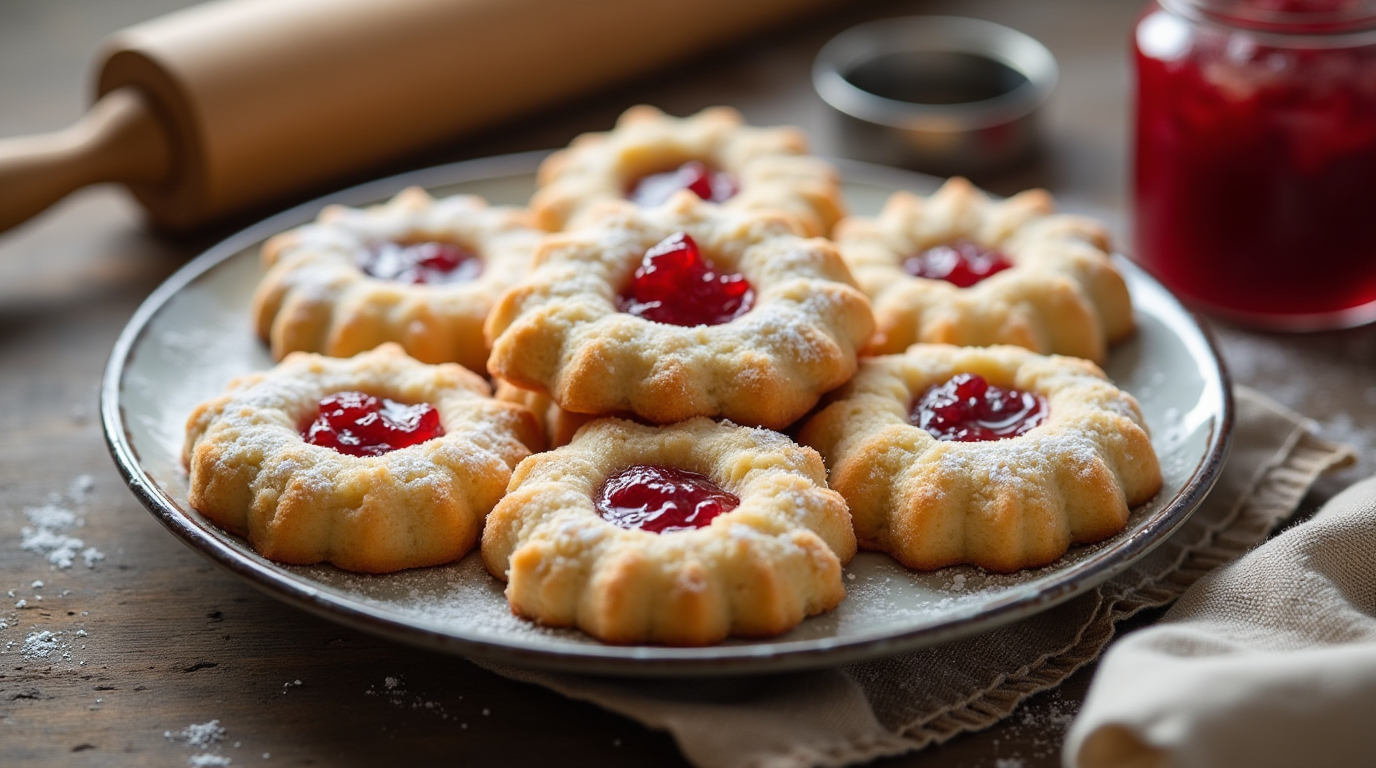
Jelly-filled cookies are delightful confections featuring a buttery cookie exterior with a surprise burst of sweet, fruity jelly or jam in the center. These cookies appear in various forms across cultures. The Austrian Linzer cookie uses ground nuts and raspberry jam, while Scandinavian thumbprint cookies feature dollops of berry jam pressed into the dough before baking. Each variation shares a love for the soft, chewy, fruity center wrapped in a crisp, rich cookie shell.
Why You’ll Love Them
- Texture perfection: Buttery and crisp outside, soft and jammy inside.
- Customizable: Use your favorite jams, doughs, and shapes.
- Perfect for occasions: Holidays, birthdays, or casual sweet cravings.
Essential Ingredients for Jelly-Filled Cookies
Core Ingredients Explained
| Ingredient | Purpose |
|---|---|
| All-purpose flour | Provides structure |
| Unsalted butter | Adds richness and flavor |
| Sugar (granulated) | Sweetens the dough and contributes to texture |
| Egg yolks | Bind the dough and add richness |
| Vanilla extract | Enhances overall flavor |
| Salt | Balances sweetness and deepens flavors |
| Fruit jelly or jam | Provides the signature fruity filling |
Best Jellies and Jams to Use
- Raspberry: Classic, tart, and vibrant.
- Apricot: Smooth with a gentle tang.
- Strawberry: Nostalgic and sweet.
- Mixed berry: Great for bold flavor.
Pro Tip:
Use seedless, thick jam to avoid runny centers and messy cookies.
Tools You’ll Need for Perfect Jelly-Filled Cookies
- Mixing bowls and hand/stand mixer
- Measuring cups and spoons
- Rolling pin (for shaped cookies)
- Cookie cutters or your thumb (for thumbprints)
- Baking sheets and parchment paper
- Cooling rack
- Sifter (for optional powdered sugar garnish)
Step-by-Step Recipe: Classic Jelly-Filled Cookies
Ingredients Table
| Ingredient | Quantity |
| All-purpose flour | 2 ½ cups |
| Unsalted butter | 1 cup (room temperature) |
| Sugar | ¾ cup |
| Egg yolks | 2 |
| Vanilla extract | 1 tsp |
| Salt | ½ tsp |
| Jelly or jam | ½ cup |
Instructions
- Cream butter and sugar – Beat until light and fluffy.
- Add egg yolks and vanilla – Mix until fully incorporated.
- Stir in flour and salt – Combine to form a soft dough.
- Chill the dough – Wrap in plastic wrap and refrigerate for 1 hour.
- Shape the cookies – Roll and cut shapes, or roll balls and press indentations.
- Add jelly – Spoon a small amount into each center.
- Bake at 350°F (175°C) – 10–12 minutes until golden at the edges.
- Cool and garnish – Let cool and optionally dust with powdered sugar.
Baking Tips
- Don’t overfill jelly to prevent overflow.
- Chill shaped cookies again before baking for cleaner edges.
- For sandwich cookies, cut a small shape in the top cookie.
Variations and Flavor Twists
Dough Variations
- Add lemon zest or almond extract for a fresh twist.
- Use ground almonds or hazelnuts for nutty flavor.
Filling Alternatives
- Nutella or chocolate spread
- Lemon curd or dulce de leche
- Homemade chia jam for a healthier version
Dietary Alternatives
- Gluten-Free: Use a 1:1 gluten-free flour mix.
- Vegan: Substitute butter with plant-based margarine and use flax eggs.
Decorating and Presenting Your Jelly-Filled Cookies
Finishing Touches
- Dust with powdered sugar
- Drizzle with white chocolate
- Use themed cookie cutters for holidays or events
Packaging Ideas
- Stack in clear cellophane bags tied with ribbon
- Arrange in tins with parchment dividers for gifting
Storing and Freezing Jelly-Filled Cookies
How to Store
- Store in an airtight container for up to 5 days.
- Refrigerate for up to 2 weeks if using fresh jam.
Freezing Tips
- Freeze unbaked dough for up to 3 months.
- Freeze baked cookies without jelly and fill after thawing for best results.
Common Mistakes and How to Avoid Them
- Runny jam: Choose thick, high-quality preserves.
- Skipping chill time: Always chill dough to maintain shape.
- Overbaking: Cookies should be just golden, not brown.
Jelly-Filled Cookies for Every Occasion
Holiday Favorites
- Heart shapes for Valentine’s Day
- Stars and trees for Christmas
- Eggs and flowers for Easter
Kid-Friendly Baking
- Use vibrant jelly colors for rainbow cookies
- Let kids create thumbprints and fill them
Conclusion: Your New Favorite Cookie Tradition
You don’t need a culinary degree to create something magical in your kitchen. These jelly-filled cookies are simple to make, easy to personalize, and endlessly satisfying to eat. Whether you make them once a year or every weekend, they’re bound to bring a little more joy into your life—and into the lives of everyone lucky enough to receive them.
So go ahead, preheat that oven. You’ve got sweet memories to bake.
Frequently Asked Questions (FAQ)
What kind of jelly works best for jelly-filled cookies?
Use thicker, seedless jams like raspberry, apricot, or strawberry for best results. Avoid runny jellies that can spill over during baking.
Can I freeze jelly-filled cookies?
Yes. Freeze dough or baked cookies without filling. Add the jelly after thawing to retain the best texture.
Why is my jelly leaking during baking?
This happens when the jelly is too thin or too much is added. Use a thick jam and fill conservatively.
Are jelly-filled cookies hard to make?
Not at all. With the right recipe and steps, even beginners can bake these cookies with ease.
How do I make vegan jelly-filled cookies?
Use plant-based margarine and a flaxseed egg substitute. Make sure the jelly is gelatin-free and suitable for vegan diets.